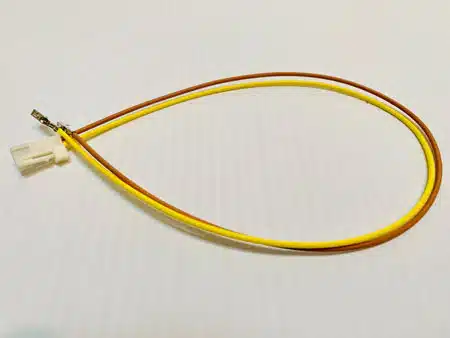
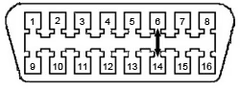
1. Twist the tan and yellow wires so that there is at least one twist every two inches. 2. Carefully, remove the OBDII connector from the dash by depressing the tabs on the sides. 3. Remove the two grey pin retainers from the back of the connector. 4. One at a time, remove & replace the yellow and brown wires from locations 6 & 14. For a 2018 truck, replace the yellow with yellow and the brown with tan. For the 2019 and 2020, replace the yellow with tan and the brown with yellow. NOTE: If you install the cable and can’t connect to the truck, try swapping the wires. Note: A 1.5mm wide flat terminal release tool or a pointed sewing needle works for removing pins.
OBDII Connector
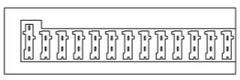
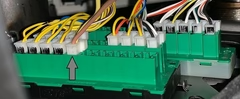
5. Reinstall the two grey pin retainers. 6. Locate the green “Star” connector above the parking brake. For 2018 plug the harness into any empty space, for 2019 and 2020 plug the harness into the fifth position from the left at the bottom.
2018 Star Connector
2019/2020 Star connector
7. Cover & insulate the pins you removed from the OBDII connector. 8. Reinstall the OBDII connector into the factory location. The bypass cable will also likely be needed in the following scenarios: Changing the tire size Adding an aftermarket remote start Using a Snap-on or other OBDII scanner Adding AMP Steps
Interested in reselling MiniMaxx products or placing bulk wholesale orders? Fill out the application form below:
🎉
Application Received!
Thank you for applying to become a MiniMaxx Tuner dealer. Our wholesale team will review your application and reply directly to your email within 1–2 business hours.
MiniMaxx AI Support
Online
Hello! I'm your MiniMaxx support assistant. How can I help you today?