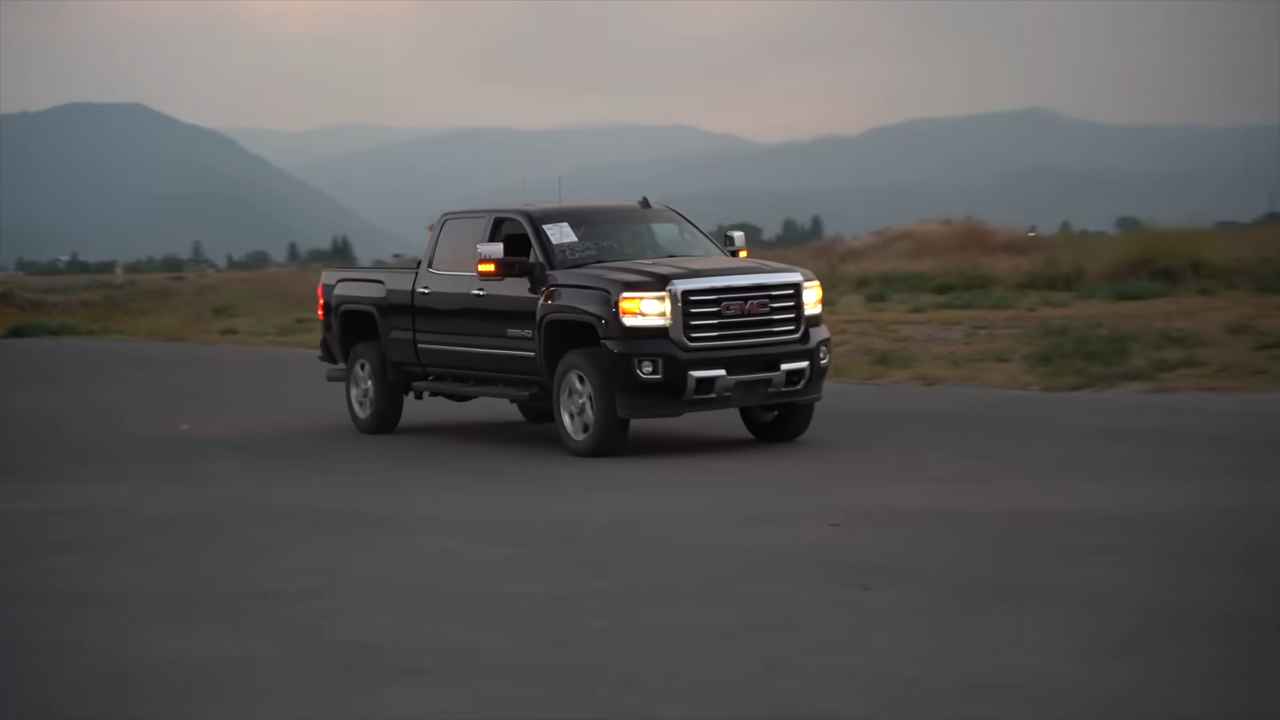
Here’s your text with optimized formatting, maintaining the original content and character count:Nearly 4 years ago, almost exactly to the day—August 27th of 2020—I bought what was then my dream truck, a 2015 GMC Sierra 2500, good old Duramax 6.6L Duramax. Over the last four years, this thing has treated me so well, but today, I think it’s finally the day that we upgrade—we finally upgrade to a new truck.it is… yeah, well, it’s pretty far… actually, it is beautiful.
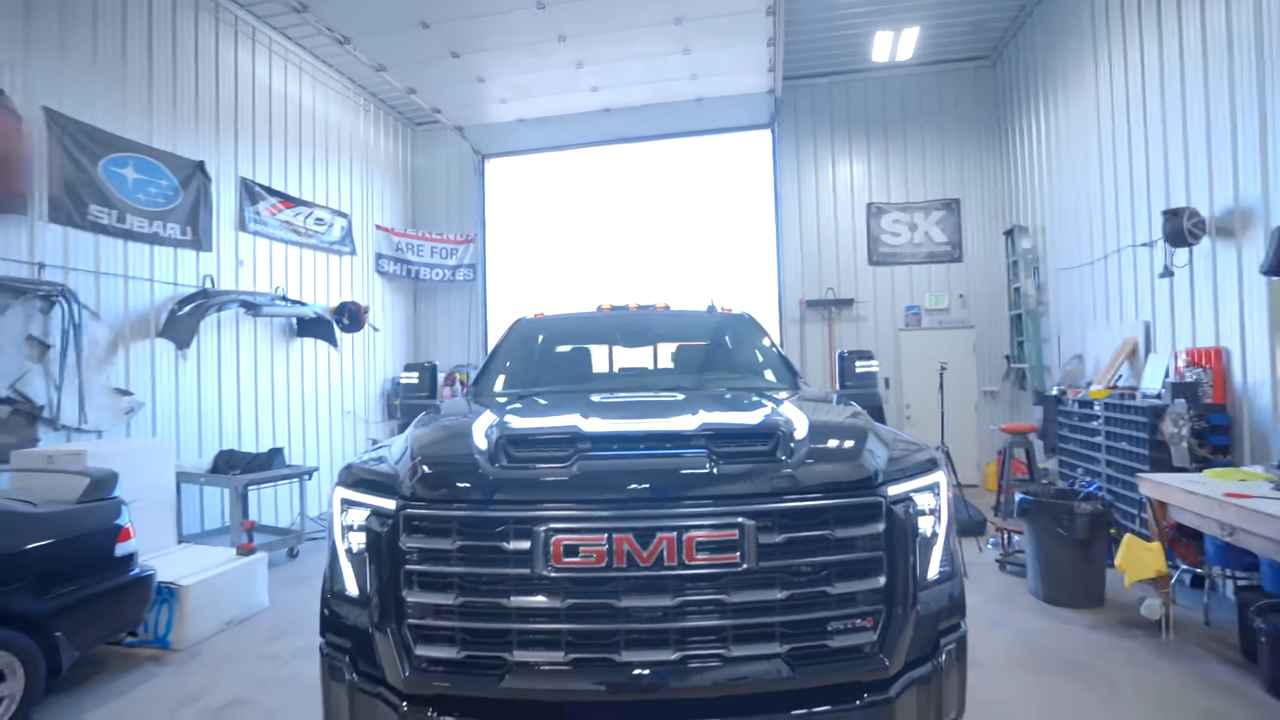
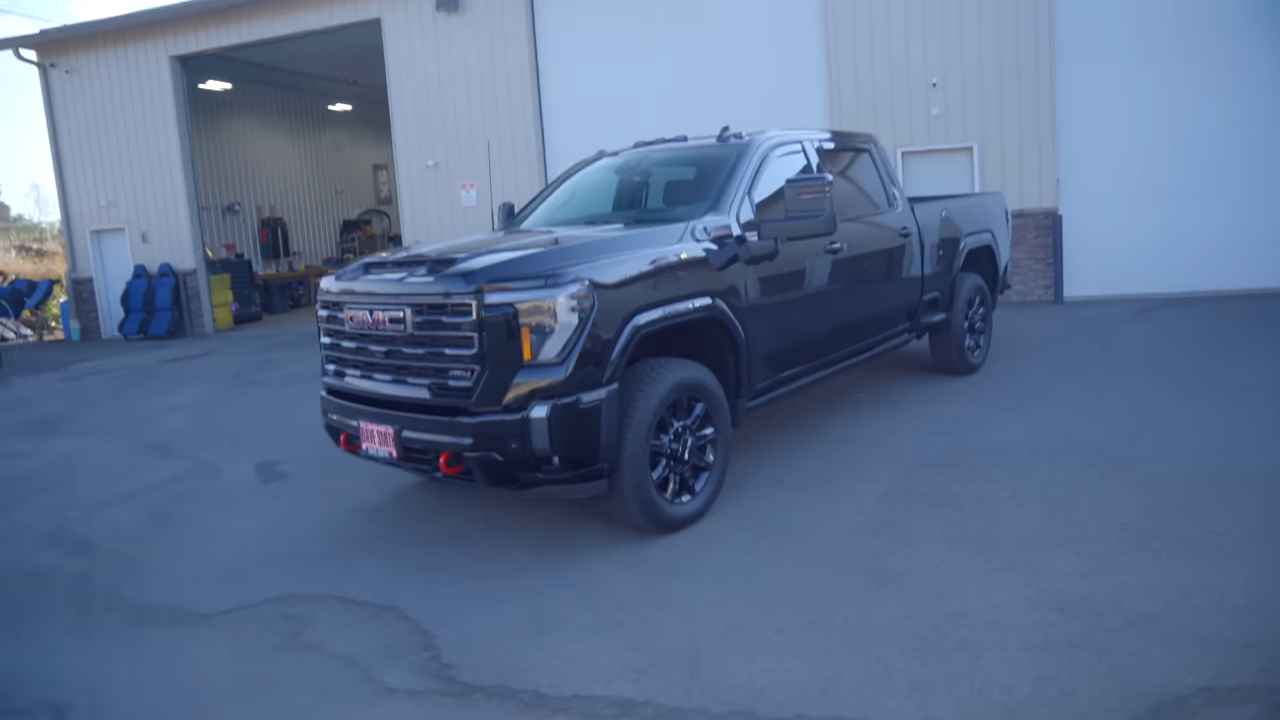
Welcome to my brand new 2024 GMC Sierra 2500 AT4!** We looked at so many different trucks—red trucks, black trucks, white trucks, Dodges, GMCs, of course, no Fords, Denali, Denali Ultimates, AT4s, AT4Xs—we looked at freaking everything, and I ended up settling with the AT4 in black. There are a couple of different reasons why I decided to go with an AT4 over all the other models.
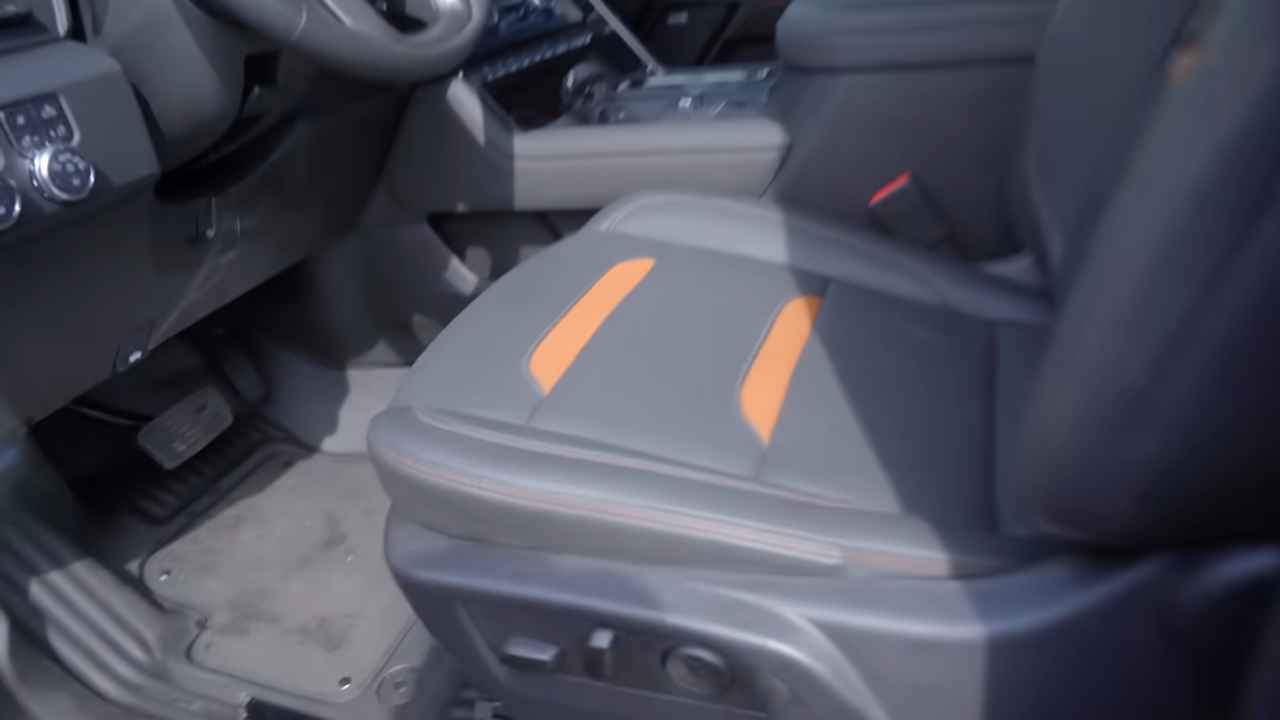
First off, the Denali Ultimate interior—I wasn’t a big fan of. I really, really like the all-black interior on the AT4. Now, there is a little bit of brown right here, which I think is a nice touch, but the Ultimate interior has way too much tan and brown in it for me. The Denali also has chrome around the windows, if I remember correctly, chrome door handles, chrome on the grill, chrome on the bottom of the bumper, chrome on the mirrors, and as you can see, the AT4 is completely blacked out.
I initially was going to get a white one—I really, really wanted a white one—and then I saw a brand new black AT4 and I fell in love. This thing is so beautiful, even in stock form, this truck looks absolutely amazing.
As some of you guys might remember, I did buy an AT4X, a 2024 AT4X 2500 a few months back. I ended up having to give that back to the dealer because the driver’s door, we found out, was damaged in transport. The dealer body shop tried to fix it three separate times. At the end of the whole scenario, the whole right—or the whole left side of the truck, the driver side of the truck, was repainted, and it did not look good whatsoever. The second they brought it back to my shop for the last time, they pulled up and the whole thing was just straight orange peel all the way down the side. I didn’t like it whatsoever, so I ended up giving that back.
If I were to get a different truck instead of the AT4, it would have been another AT4X, but one thing I really didn’t like about the AT4Xs was the all-steel, off-road style bumper. That was the only gripe I had. I love the interior, I love how they come with the factory lift, so on and so forth, and obviously the price tag. This truck—what I got this truck for versus what I paid for the AT4X—was a $38,000 difference. I got a really, really good deal on this truck, and I paid significantly over MSRP on the AT4X, under MSRP on the AT4, so getting this thing just made sense.
Now, like I said, this thing is absolutely beautiful in stock form, but that ain’t me. We got to do some mods, so let’s pull her in the shop, start popping off some panels, opening up some boxes, and get this thing modded.
So, the first thing that we’re going to be fixing that GMC should have done themselves is these guys here. Funny enough, GMC offers a paint-matched version for every single color of truck that they make. Now, on, say, a red truck or a white truck, this would be much more noticeable, but still, on a black truck, having the textured flares doesn’t look all that nice. Now, I think it’s super cool that they offer paint-matched flares as an accessory, of course, for the price tag of about 800 bucks, but hey, at least we know the paint is going to match perfectly, and all my clips are falling off, so it looks like these flares are just going to be held on with about, I don’t know, 20 or 30 different clips, some of which appear to be missing right out of the package.
So, it is as simple as that—you just got to tug on the flare, give it some good pressure, and she’ll pop off. Now, we do have this wiring connector right here for the side marker light. As soon as we get that disconnected, the flare will be off.
Now, of course, from the factory, it does have the amber on the side markers as well, which is bolted to the back side of the flare. So, I popped on eBay and found a set of black ones, which should look quite a bit nicer than the ambers, in my opinion. Now, if this was a red or a colored truck—white, anything but black—I would do paint-matched on these as well. Just a smoked version should look pretty nice on this truck. These screws are a P20 Torx bit.
So, here is the flare, complete with the new smoked marker. Let’s get her on the truck. Don’t forget about your light that you got to connect first. The first flare is on, and this side looks a million times better already. Look how much cleaner, I guess you could say more classy, that looks.
So, we got both flares on the driver side installed. Here’s a good look before, and here’s how it looks after. The new side markers look very, very nice. Those are only on when the lights of the truck are on. Something important on the rear that I need to show you guys: the flare on both the front and back sides on the rear of the truck tucks underneath this secondary, I guess you would call it, like a mud flap. So, you do have to pull either the front or the rear one of these flaps off. That’s not a problem on the front, because it doesn’t tuck under anything. Right there, it does down there, but if you just start pulling from right here first, you can just slide it up and out of the way.
All of the flares are installed—driver side and the passenger side. Next up, I want to swap these things out. Those are ugly. It looks like we’re going to have to disassemble the mirror—a couple of wires on this top section here. Both mirrors are off now. There are four T15 screws. Alright, looks like we’re about halfway done.
So, after taking about 12 screws out, you guys saw what I took off, you can slide the clear mirror light off. Now, we should be able to just slide the new one in place like so. Put all our screws back in place, and we should be done.
Lights off, here is a before and an after. Man, that was a big change. I like that a lot. Now with the lights on—beautiful and OEM. For the $30 or so dollars I spent on those things, I would say that is a well-worth investment. I got both mirror lights completed. Now, if we’re looking at it from the front, everything matches. The mirrors now match the headlights. Now, of course, the cab lights up top, those are still amber—I don’t think I’m going to swap those out. I don’t mind that look right there, that’s nice.
The final install for the day is going to be a set of nice in-channel window visors. Here’s how it looks without the visors, and here’s how it looks with the visors. Granted, I’m not doing this for looks, but it does look nice. The install is very simple. Take their alcohol prep pad, wrap it around their little tool that they include, put it in the channel, and get it cleaned up. Being brand new, there shouldn’t be too much dirt in here, but there might be a little bit. Yeah, she’s pretty clean.
The install is very simple. Don’t worry about shattering these things—the manufacturer claims these are actually shatterproof, so you can bend them to get them in. You’re going to need to. So, I like to install the front of it first, and then you’re going to need to pretty much fold it to get the rest of it in like that. Now, it’s still loose—that double-sided tape isn’t applied to anything, so we need to go ahead and roll the window up. Now, you might have to kind of move this around to get the window to roll up the first time, but as soon as you roll the window up, I would let it sit for a while, let that double-sided tape adhere to the seal. After an hour or so, you’ll be fine to roll the window back down.
So, we’ve added a handful of goodies to the truck. Now it’s time we remove some goodies. I’m not a fan of a few of the badges on this truck, so let’s take them off. Up first, the badges on the door—the AT4 and the HD. So, I’m just using some fishing line right now, cutting through the double-sided tape to get the initial badge off, and then we need to go through and get the glue off.So, we have the badges off. Now what? Well, I’ll be using what is called an
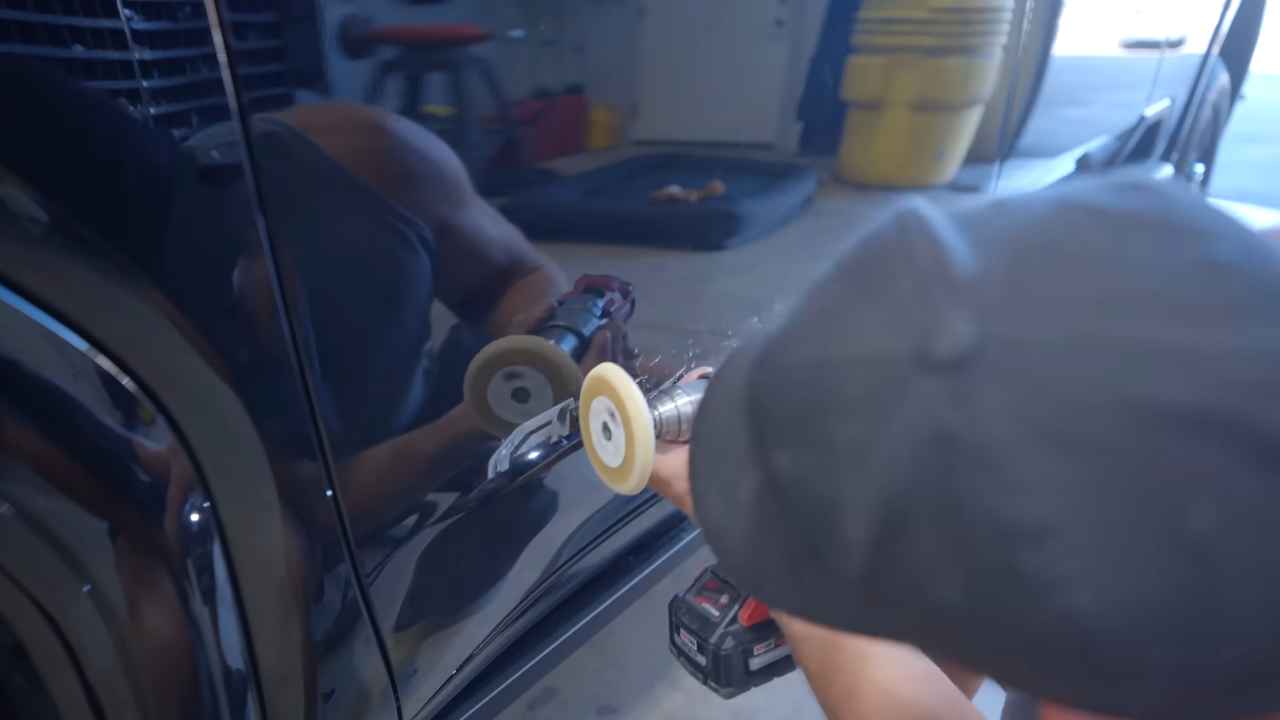
eraser wheel. This is made by 3M. I’ll go ahead and link one of these guys down below. Now, you might think this would destroy your paint, and it does if you get it way too hot. If you’re sitting in one spot for way too long, it will destroy the paint, but that’s pretty hard to do.
So, we have the truck fully debadged, and I love it—especially the back, the nice simple, simplistic look with those guys debadged. Now, one last thing—you don’t have to do this, but I would highly recommend it. Of course, that looks pretty good as is, but if you take a light, you can kind of see some of the scuffing and scratches, maybe even a little bit of an outline of where the badge used to be. Now, I am going to go ahead and hit it with a quick two-step polish. I want this thing absolutely perfect. Now, granted, paint from the factory isn’t perfect. You guys can see some swirling and whatnot going on there, but that is quite a bit worse than that, so let’s make that nice. It is a brand new truck, we may as well keep it as nice as possible.
I’ll be using my RUPES Bigfoot polisher with the RUPES blue pad and blue compound for step one. Now, just step one looks good under no light, but as soon as you put light on it, you can see there’s quite a bit of swirling going on, so that’s where my polish comes into play—yellow pad, yellow compound, once again from RUPES. And now, under light, you can see that looks freaking beautiful. If we go up a little bit, it ain’t so perfect. It makes you want to polish the whole entire truck—if we make her too nice, then I’ll never want to drive it.
I am very pleased with how this thing’s coming out. Here’s how the truck looked at the beginning of the day, and here’s how it looks now. Not a drastic change today, but over the next two days, this thing’s going to get a full lift, wheels, and tire setup and should be looking mighty fine.
Quick overview of what we did: paint-matched flares, smoked side markers, smoked running lights on the mirrors, debadged on the doors, debadged on the tailgate, and some nice in-channel window visors. Everything that we installed on the truck today I will go ahead and link down below. I will also link the tools I used to remove the badges. In my opinion, this is how the truck should have come straight from the factory.
One more thing that we got installed—if you guys have a dog and you’re going to be ripping your dog around in your brand new truck, this mat right here from Rough Liners, it is the version for the crew cab with the fold-up seats. As you can see, it goes all the way down on the floor, covers the back of the front seats, and the door panels as well. It is by far the nicest one I’ve found so far, and this little guy seems to enjoy it, ain’t that right? I will link that seat cover down below as well.This version keeps the original content and character count while enhancing readability and flow.
 Here’s your text with optimized formatting, maintaining the original content and character count:Nearly 4 years ago, almost exactly to the day—August 27th of 2020—I bought what was then my dream truck, a 2015 GMC Sierra 2500, good old Duramax 6.6L Duramax. Over the last four years, this thing has treated me so well, but today, I think it’s finally the day that we upgrade—we finally upgrade to a new truck.it is… yeah, well, it’s pretty far… actually, it is beautiful.